How to Breed Villagers in Minecraft

Are you tired of endlessly searching for the perfect Librarian or a trusty farmer villager with good trades. The secret to a thriving Minecraft economy is to stop relying on random generation and start creating your own population. Learning how to breed villagers allows you to build a powerful community from scratch.
By increasing your population, you gain access to powerful enchanted books from a Librarian, sturdy diamond armor from an Armorer, and a stable economy you control. A large number of unemployed villager units is necessary for you to assign specific, high-value jobs later on, which is the only way to get the best gear.
The process of making two villagers willing to breed is actually quite simple once you understand the three core mechanics. It all comes down to providing the pair with enough beds, a large supply of food, and ensuring their environment is safe and secure. Every successful effort to breed villagers hinges on these three rules.
What are Villagers in Minecraft
Villagers are the peaceful, nose-faced non-player characters that populate villages and bring life to the game. They are essentially the backbone of the in-game economy, capable of taking on various professions like farmer, villager, cleric, or toolsmith, and offering you trades for rare or difficult-to-obtain resources. Understanding their behavior is the first step toward successful procreation.
Villagers operate on a strict daily schedule. The villagers wake early at dawn, interact with their assigned job site block, and visit the village bell. Adult villagers gather near the bell during midday. When night falls, the residents seek out a bed for villager sleeping. Their established homes and jobs are crucial for making them feel safe and content, which is a prerequisite for them to be willing to breed. If hostile mobs appear or the villagers flee, their schedule is disrupted, and they will not be happy, causing them to panic.
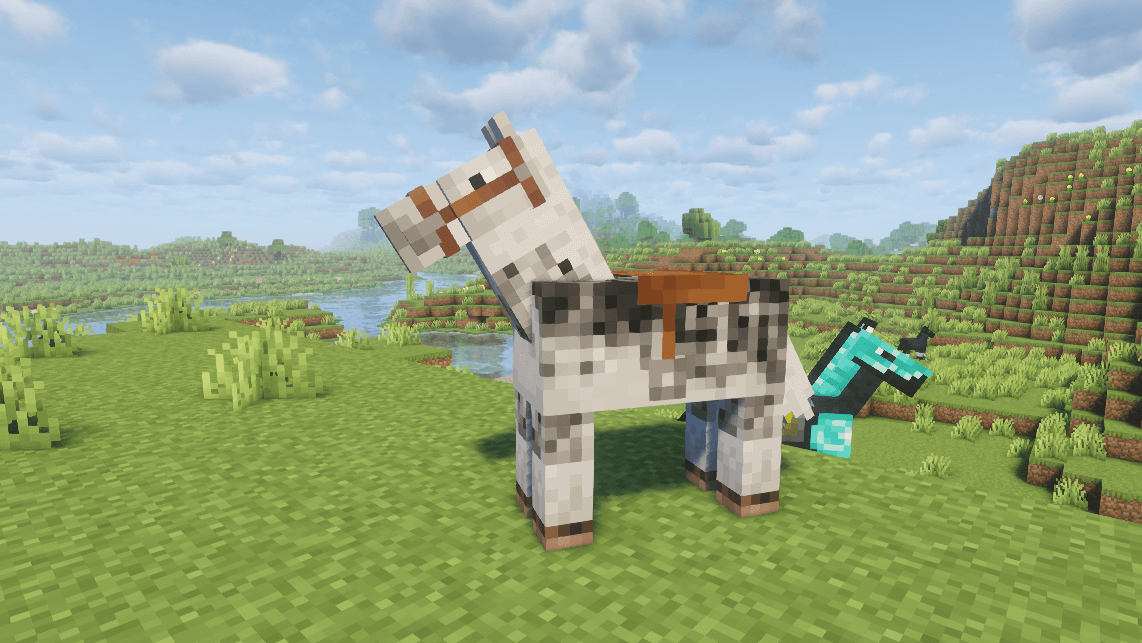
Their social structure involves a system of "gossiping" where the population shares information about trades and dangers. A plains villager gossiping about a good trade is beneficial, but if they see a player attack villagers or kill villagers, they will raise prices and be less cooperative. This makes it vital to maintain a peaceful environment around your villagers nearby at all times. A plains villager is the most common type you will encounter.
Requirements for Breeding Villagers in Minecraft
Getting two villagers to successfully breed is not as simple as placing the pair close together. It requires you to meet three very specific conditions that make them feel safe and secure enough to bring baby villagers into the world. If you miss even one of these requirements, your attempt to breed villagers will most likely fail.
The core mechanics revolve around housing, sustenance, and the "willingness" status. You must provide proper housing with enough beds, a large supply of food in the villagers' inventory, and finally, achieve the willing to breed state, which is the final trigger for reproduction. Every successful effort to breed villagers hinges on these three simple rules. At least one villager must have an unclaimed bed.
Beds in Minecraft Villages
The absolute most important resource for population growth is a comfortable place to sleep. A successful village must have at least one extra bed available for future baby villagers. This means for every pair of adult villagers you want to breed, you need one available bed beyond what the current population requires.
The beds must be reachable by your two villagers, meaning there should be two blocks of air space above the bed so the new baby villagers can jump on it. If the bed is inaccessible or covered, the reproduction will not occur. This means if you have three adult villagers, you must have at least four valid beds for them to be willing to breed. Villagers lie on the bed at night.
Food Needed to Make Villagers Breed
Villagers need a significant amount of food in their personal villager's inventory to become willing to breed. They do not require a shared food supply, but each of the two villagers involved needs a specific number of food items on hand to trigger the willingness status.
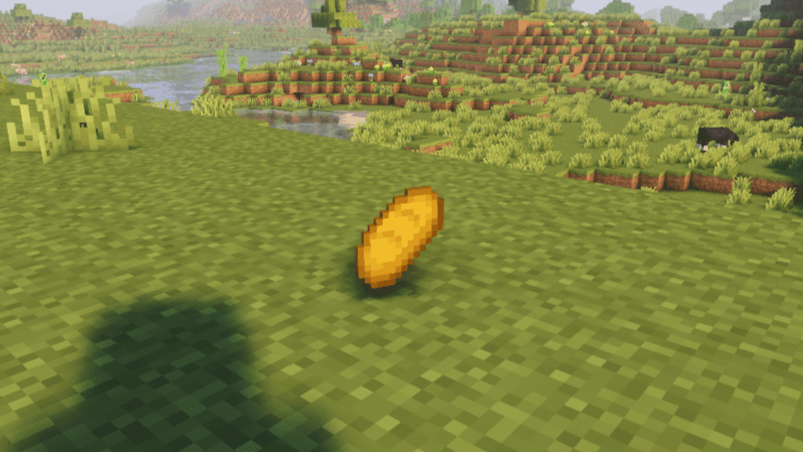
The best and most efficient food items to feed villagers are bread, carrots, potatoes, or beetroot. You can toss these items on the ground near them, and they will pick them up and add them to their inventory. A villager's food stock is vital for this procreation process.
Here is the food requirement per villager:
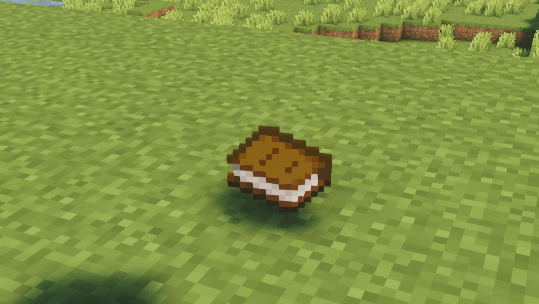
- 3 loaves of Bread
- 12 Carrots
- 12 Potatoes
- 12 Beetroot
Willingness Mechanic Explained
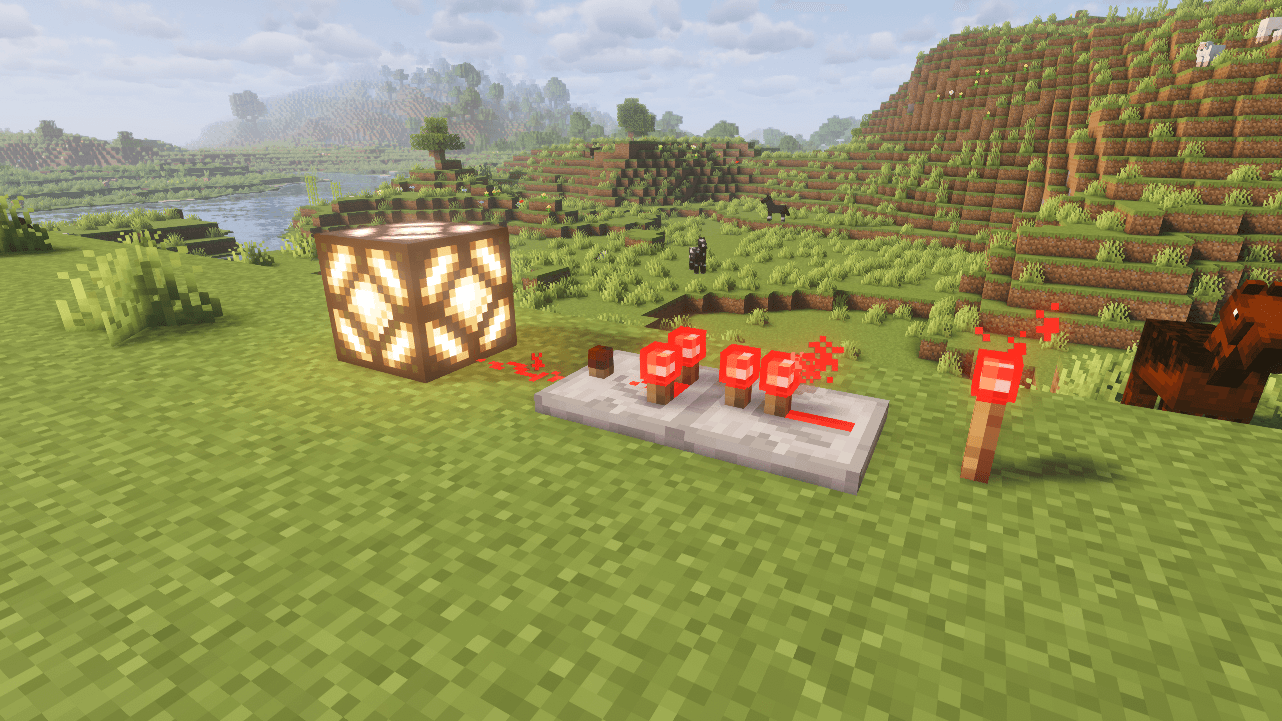
Willingness is a hidden status that determines if your two villagers are ready to make baby villagers. They must have this status simultaneously to breed villagers. As mentioned, the first part is having sufficient food in their inventory, and the second is having an unused, accessible bed in the village. This ensures the villager attempts to reproduce.
Once these two conditions are met, the villagers throw gifts related to food at each other. You will see the villagers emit green particles above their heads. This green light indicates they are now willing to breed. They will then look for other villagers to initiate the process and produce baby villagers. The breeding will fail if a villager panics or a hostile mob is nearby villager is present.
Step-by-Step Breeding Guide
This section outlines the quickest and most effective way to go from a fresh world to a fully operational villager breeding system. Following these steps precisely will ensure you are ready to breed villagers in the most efficient manner possible.
The entire process begins with secure containment and ends with the satisfaction of seeing your first new baby villagers arrive. Always prioritize the safety of your initial two villagers, as losing even one means the entire setup process must start over. Remember to have your job site block ready for the unemployed villager that will grow up.
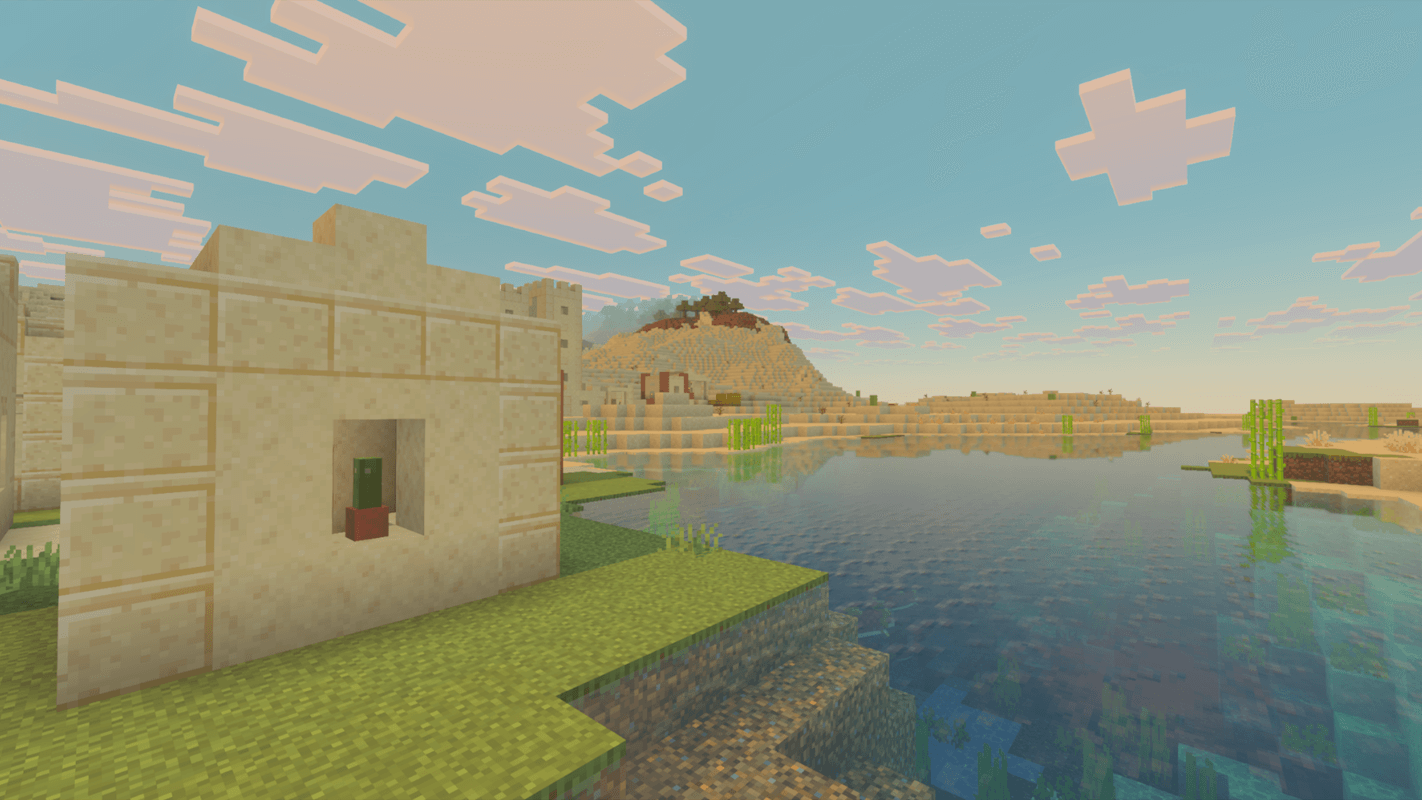
How to Find a Village in Minecraft
The fastest way to find a village in Minecraft is to simply explore the main world biomes, where naturally generated villagers will already be present. If you cannot find a village, you can acquire villagers by other means.
- Exploration: Look in Plains, Desert, Savannah, Taiga, or Snowy Tundra biomes.
- Command Option: Use /locate structure village if you are having trouble.
- Generation Detail: Buildings generate villagers inside them during world creation.
- Alternative: Cure a zombie villager if no normal adult villagers are available.
- Ideal Starter: A farmer villager is ideal for breeding. A desert villager is another common type.
How to Get Villagers in Minecraft
If you do not find a village, you have three main ways to acquire the two villagers needed to start. The first is to cure a zombie villager, as outlined later. The second is to transport adult villagers from a distant village using a boat or minecart.
The third method is to look for a wandering villager, but be aware that the nomad cannot take a job and is generally not useful for breeding or trading. Once you have at least one villager in a safe, enclosed area, you can begin the process. If you are using a cured zombie villager, they will start as an unemployed villager. AAnothernearby unemployed villager is often the best target to start breeding.
How to Make Villagers Work for You
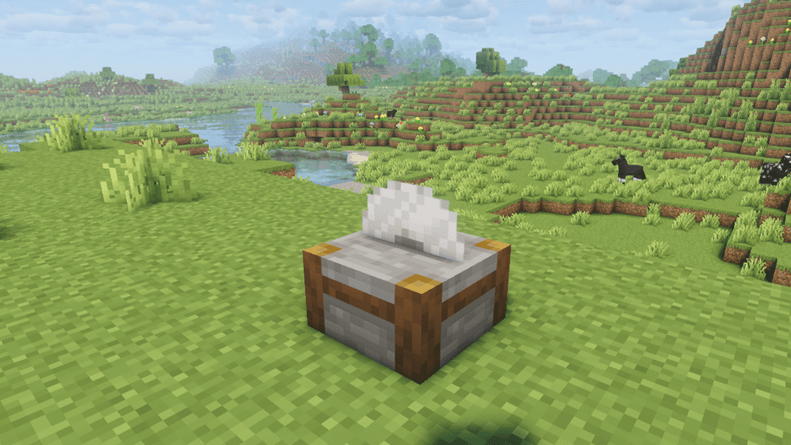
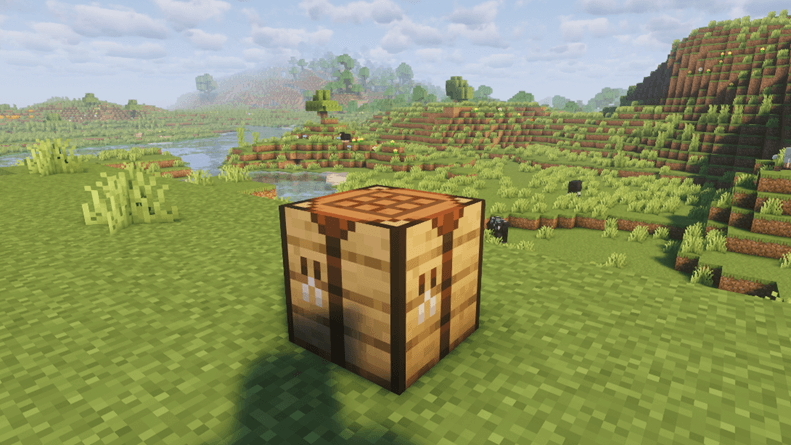
Once you have an unemployed villager, you can give the jobless unit a profession by placing a specific job site block near them. For example, placing a Composter will make them a farmer villager. Placing a Lectern makes them a Librarian.
They will automatically walk to the job site block and begin their profession. This is important because an employed villager is a valuable trading asset. The unemployed villager is crucial for creating the next generation, as they can quickly pick up a job and start earning trades. Sometimes a villager fails to link to a block right away.
How to Feed Villagers in Minecraft
To get your two villagers to breed villagers, you must give them food. You can manually feed villagers by tossing the food item onto the ground near them. Each of the two villagers must have the required food amount in their inventory to become willing to breed.
If you have a farmer villager, the farmer will automatically plant crops, and farmers harvest crops like carrots and potatoes from nearby farmland. They will then attempt to share this food with other villagers, which is why a dedicated farmer villager is the best option for continuous baby villagers production. Villagers consume the food when they start breeding.
How to Reproduce Villagers in Minecraft
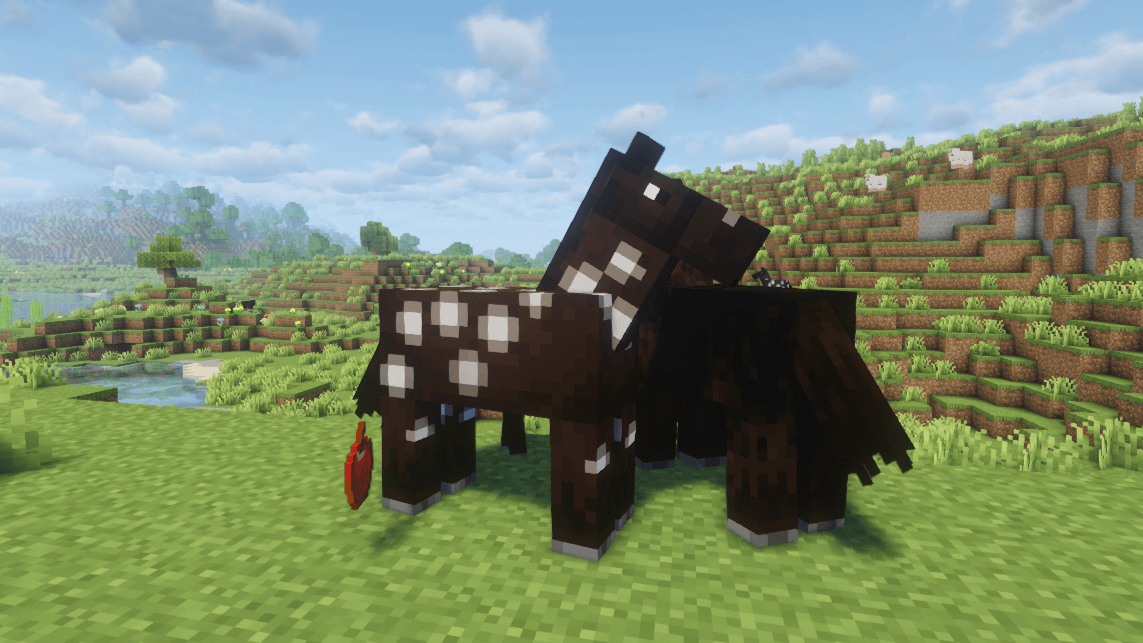
When you have two villagers in a safe area, with at least one extra bed, and both have the required food in their inventory, they will begin to reproduce. You will see hearts appear above their heads as they look at each other, villagers, and then the pair will produce a baby villager.
This happens quickly. The baby villagers that spawn will immediately look for the extra bed and claim it. They will then take approximately 20 minutes to grow into adult villagers, ready to take on a job at a nearby job site block or breed villagers themselves. The baby villager cautiously accepts the new bed as its home.
Breeding in Different Versions in Minecraft
While the core principle of beds and food remains the same, there are a few minor behavioral differences between the two main versions of Minecraft. It is helpful to know these subtle facts to ensure you can breed villagers successfully regardless of which platform you are playing on.
The main difference lies in how certain mechanics are prioritized in the game code. In one version, the baby villagers may move slightly faster, or the way a job site block links to an unemployed villager may be more direct. In both cases, the required numbers for food and beds are identical for successful population growth. A villager rushes to an open bed.
How to Breed Villagers in Minecraft Bedrock
In Minecraft Bedrock, the process is very straightforward. You need two villagers, three valid beds (one extra), and food. The baby villagers sprint when moving around after they are born, which can be a fun visual difference from the Java Edition.
You must ensure that the new baby villagers can pathfind to the open bed. If the bed is too far away or blocked, the two villagers will not be willing to breed. This version is played on consoles and mobile devices and is a very popular version for making large-scale villages. A desert villager may be easier to breed in open desert space.
How to Breed Villagers in Minecraft Java
In Minecraft Java, the core mechanics are identical, but Java Edition villagers may sometimes seem more sensitive to their surroundings. You still need two villagers, food, and an extra bed.
The Java edition baby villagers will also grow into adult villagers in about 20 minutes. It is important to know that baby villagers wander randomly sometimes, so you must keep your enclosure well-lit to prevent hostile mobs from harming them. Both versions share the essential requirement of beds and food for successful reproduction. Villagers often.
Common Problems and Fixes
Even when you follow the instructions perfectly, problems can arise that prevent your villagers from making baby villagers. These are usually simple fixes related to lighting, pathfinding, or safety.
It is always important to remember that safety is the villagers' primary concern. If an unemployed villager feels threatened, they will stop everything. Checking the light levels and the accessibility of the extra bed will solve most issues that prevent the two villagers from being willing to breed.
Villagers Not Breeding in Minecraft
If your two villagers are not willing to breed, check these things first.
- Beds: Is there at least one extra, accessible bed for the new baby villagers to claim?
- Food: Do both residents have the required amount of food (like 3 bread or 12 carrots) in their inventory?
- Safety: Is the area well-lit, and are there any hostile mobs nearby that could be causing the villager's panicking status?
If you see a villager emit anger particles, it means they are mad at something and will not breed villagers. This can happen if you accidentally attack villagers or break their job site block. Simply wait a few minutes for them to cool down and try again to feed villagers.
How to Protect Villagers in Minecraft
Protecting your village from hostile mobs is non-negotiable. Villagers are defenseless, and if a zombie villager is created or a creeper explodes, all your hard work is undone. Build a strong wall or fence around your village area to keep them safe.
Ensure the entire area is well-lit with torches or glowstone to prevent hostile mobs from spawning at night. If the villagers flee from a threat, the population will be too scared to breed villagers for a long time. A safe village is a fertile village. A villager wearing a job badge is a sign of an employed villager.
How to Cure a Zombie Villager in Minecraft Bedrock
If you find a zombie villager (or one is created when a zombie attacks an adult villager), you can cure them to gain a new unemployed villager. First, trap the zombie villager in a safe place away from sunlight.
Next, you need a Weakness Potion and a Golden Apple. Throw the Potion of Weakness on the zombie villager and then use the Golden Apple on them. They will shake for a few minutes and transform into a regular unemployed villager who can then be used to breed villagers. This makes a cured villager.
How to Revive a Villager in Minecraft
Unfortunately, if a villager dies, there is no way to revive them in standard Minecraft gameplay. You must replace them by finding another unemployed villager or curing another zombie villager. The villager falls into the hands of a zombie.
This is why protecting your two villagers and all your baby villagers is the number one priority. Losing a key farmer villager or another employed villager can halt your breeding process and stop all your valuable trades.
Advanced Breeding Tips in Minecraft
Once you master the basic steps, you can start building specialized structures to automate and maximize your villager population. These advanced designs take the guesswork out of the process, ensuring a constant flow of baby villagers and specialized professionals.
The goal of advanced systems is to separate the breeders from the workers and use water or minecarts to transport the baby villagers to a safe holding area. This eliminates the chance of the breeders being distracted and ensures the production of new unemployed villager units continues uninterrupted. The same villager can start a family many times.
How to Make a Villager Breeder in Minecraft
A villager breeder is a self-contained unit designed solely to produce baby villagers quickly. It typically involves a small, safe room for the two villagers with many beds positioned below or outside the room. Water streams can be used to funnel the new baby villagers away from the breeding cell, making room for more.
The design relies on a continuous supply of food, often dropped by an automatic farmer villager or dispensed via hoppers. The breeders should be constantly checking for new beds and have food in their inventory, keeping them perpetually willing to breed. A third villager is the result.
How to Make a Villager Farm in Minecraft
A villager farm is a larger structure that combines reproduction with automatic job assignment. A successful farm generates baby villagers, transports them to a separate area, and exposes them to a dedicated job site block to turn them into an employed villager.
You can set up a system to funnel all new baby villagers to an area where a specific job site block is available. This ensures that every new unemployed villager is instantly converted into a useful farmer villager or another desired profession. A nearby unemployed villager will instantly link to the new block.
How to Transport Villagers in Minecraft Bedrock
The simplest way to transport villagers, especially in Minecraft Bedrock, is to use a boat or a minecart. Place the boat on the ground next to the adult villagers and gently push them in. You can then row the boat across water or drag it across land.
For longer distances, a minecart track is faster and safer. Ensure the track is fully enclosed to prevent the villagerfrom being pushed from the track or attacked by hostile mobs. Safely moving an unemployed villager is necessary for setting up a new base or breeding area. You can bait a villager with a bed at night.
How to Get Different Villagers in Minecraft (Farmer, Librarian, Cleric, Armorer)
A newborn baby villager will grow into an unemployed villager who will then seek out a job site block. By placing a specific block, you dictate their job. This is the only way to get the exact professional employed villager you need for specific trades.
Here is a list of common residents and their required job site block:
- Farmer Villager: Composter
- Librarian: Lectern
- Cleric: Brewing Stand
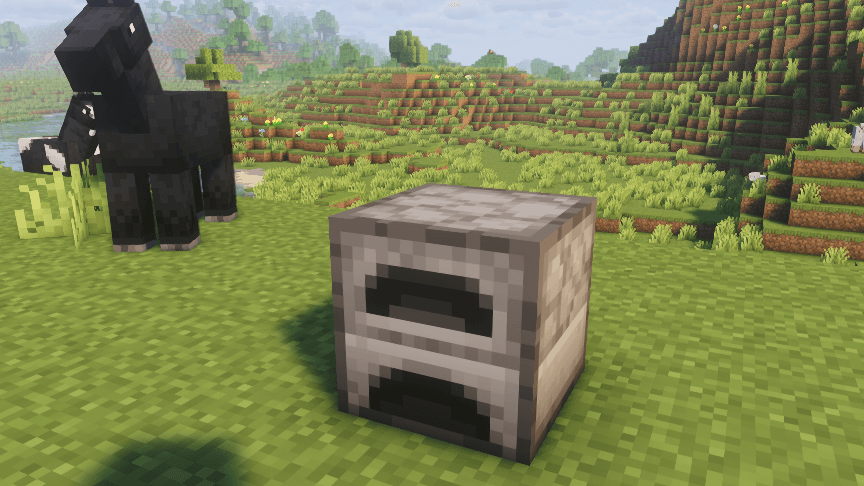
- Armorer: Blast Furnace
- Toolsmith: Smithing Table
- Weaponsmith: Grindstone
- Butcher: Smoker
- Leatherworker villagers: Cauldron
If the unemployed villager is not immediately locked into a trade, you can break the job site block and replace it until you get the specific trades you want from that newly employed villager. A desert villager in a robe is a villager wearing the same villager uniform.
Related Villager Mechanics in Minecraft
Mastering reproduction is only the first step. To get the most out of your growing population, you must understand how to interact with and manage their professions, trades, and social statuses. These mechanics maximize the benefits you gain from having a large population.
Knowing these mechanics will help you manage your new adult villagers, ensure they have the best trades, and protect them from danger. A well-managed village is a profitable one, as a strong farmer villager can keep your food supply up, and a good armorer can get you top-tier gear. Villagers encounter many blocks.
How to Give a Villager a Job in Minecraft
Any unemployed villager will take a job by connecting to a nearby, unclaimed job site block. This link is permanent once you lock in a trade with them.
If a new baby villager grows up to be an unemployed villager, they will automatically claim the closest available job site block. Be ready to place the desired block near them the moment they become adult villagers to ensure they get the profession you want, like a valuable farmer villager. Remember, you can also break an existing job site block to turn an employed villager back into an unemployed villager, as long as you have not traded with them yet. An unemployed or nitwit villager cannot claim a block.
How to Level Up Villagers in Minecraft
You level up a villager by repeatedly trading with them. Villagers have five tiers: Novice, Apprentice, Journeyman, Expert, and Master. Every time you complete enough trades in a tier, the villager unlocks the next one.
Leveling up an employed villager is crucial because it gives them access to better and more valuable trades, such as enchanted items or rare materials. For example, a Master-level Librarian can sell the best enchantments, far surpassing what a Novice can offer. Villager attempts to level up their trades.
How to Trade with Villagers in Minecraft
To trade, simply right-click or use the left trigger on the adult villagers. Their trading interface will pop up, showing you what items they want to buy and what items they want to sell, along with the prices.
Trade often to level up the employed villager. Keep in mind that a villager panicking or a nearby attack might temporarily increase their prices, so always trade in a safe environment. A targeted villager will be reluctant to trade.
How to Name a Villager in Minecraft
Giving a custom name to one of your residents, whether it is a crucial farmer villager or one of your starting two villagers, is essential for keeping track of your population and trade investments. The process is straightforward and requires just two main items, but it provides lasting benefits for managing your entire village, especially when you have many other villagers to look after.
- Items Needed: You must acquire both an Anvil and a Name Tag.
- Renaming Process: Place the Name Tag into the Anvil to give it a custom name.
- Application: Apply the name by right-clicking or using the left trigger on the adult villagers while holding the newly named tag.
- Benefit for Organization: Naming your key professionals, such as your farmer villager, helps with organization and efficiency.
- Trade Tracking: This is useful for tracking which of your many other villagers possesses the best trades.
- Confirmation: A villager staring at the tag after the interaction is an indication that the naming was successful.
Conclusion
Learning how to breed villagers is the most rewarding way to play Minecraft. The process is straightforward, requiring three key elements: two villagers, an available bed for the future baby villagers, and sufficient food to make them willing to breed.
By following this guide, you can successfully breed villagers and grow your population exponentially. The benefits of a thriving village, from access to powerful trades from an employed villager to the satisfaction of building your own city, make this an essential skill for every serious Minecraft player. Get started today and watch your new baby villagers grow into adult villagers that power your entire world. Villagers collect bread to start this process.