How to Make an Armor Stand in Minecraft

Are you looking for a cool, clean way to show off that expensive set of diamond armor you just crafted? Do you need a mannequin for your epic treasure room or a dynamic prop for your latest Redstone creation? The armor stand is the perfect solution for displaying your gear.
The armor stand is a surprisingly simple item to craft, requiring only basic materials like sticks and a smooth stone slab. Learning the armor stand crafting recipe is one of the first steps any serious decorator takes. Once you have made one, you can use it to store and show off your most prized possessions, instantly improving the look of your base.
Beyond simply storing armor, the armor stand is versatile for builders and technical players alike. It can be posed in numerous ways, holding stained glass or even a mob head, and can even be manipulated with Redstone to create dynamic effects. It is an essential item for both aesthetics and complex gameplay.
What Is an Armor Stand?
The armor stand is a non-solid entity block designed specifically to display wearable items in Minecraft. Its primary role in Minecraft is to act as a decorative mannequin, allowing players to equip full sets of armor, including the essential armor elements: helmets, chestplates, leggings, and boots item, or simply a single item. Players use it to organize their gear, add flair to a base, or for decorative purposes.
Materials Required
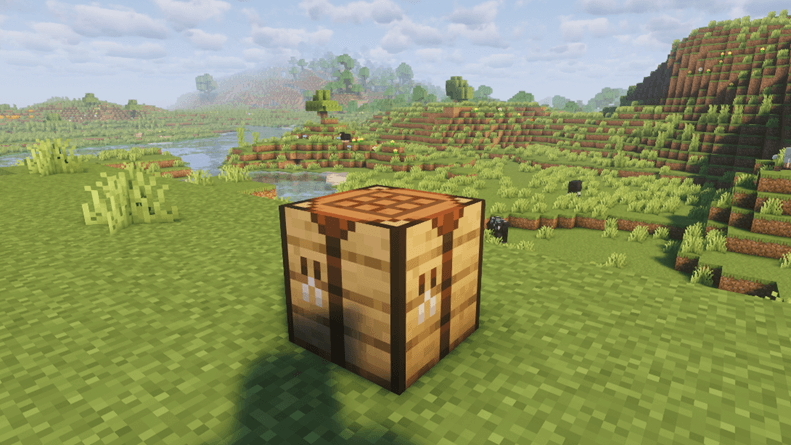
To make an armor stand, you need two types of materials and a crafting table.
| Item | Quantity | Source |
|---|---|---|
| Sticks | 6 | Crafting wooden planks |
| Smooth Stone Slab | 1 | Crafting smooth stone |
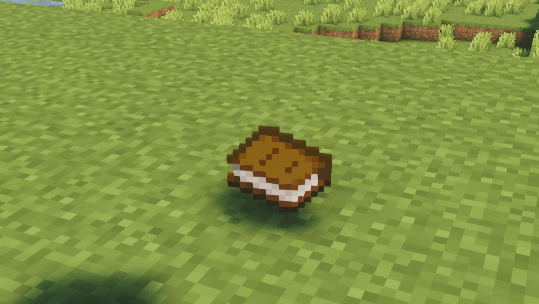
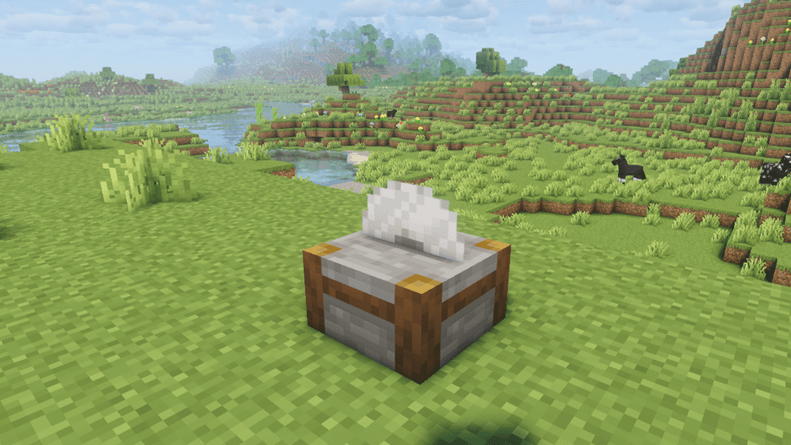
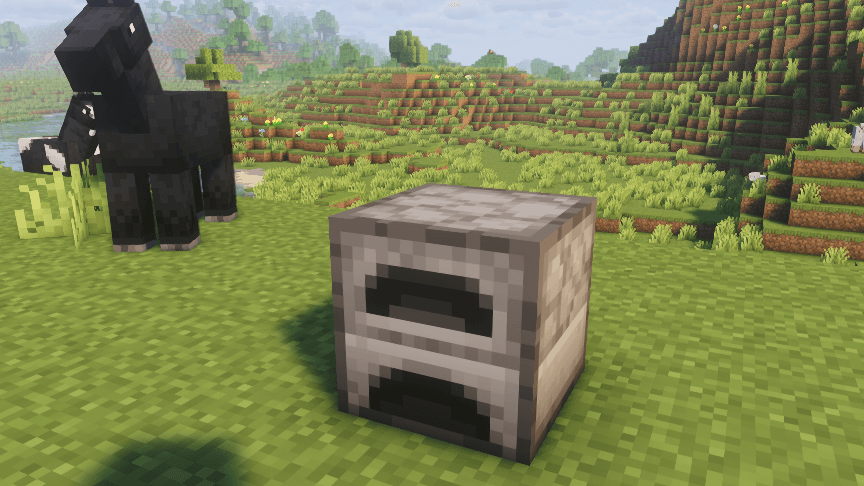
You obtain smooth stone by first smelting cobblestone into stone in a furnace, and then smelting the resulting stone in the furnace one more time. Then you craft the smooth stone slab item from the smooth stone.
Crafting an Armor Stand
Here are the step-by-step instructions for the armor stand crafting recipe.
- Open your crafting menu (the 3x3 crafting table grid).
- In the first row, place 3 sticks horizontally. This forms the arms and the top of the stand.
- In the middle row, place 1 stick in the center box.
- In the third row, place 1 smooth stone slab in the third box (the center one) and then place 1 stick in the left box and 1 stick in the right box. This arrangement showed crafting recipe requires this exact pattern.
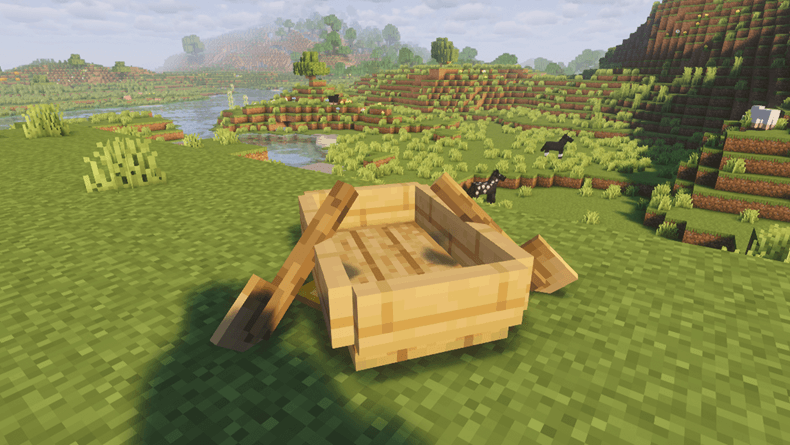
- This recipe will create one armor stand item for your inventory.

Features of Armor Stands
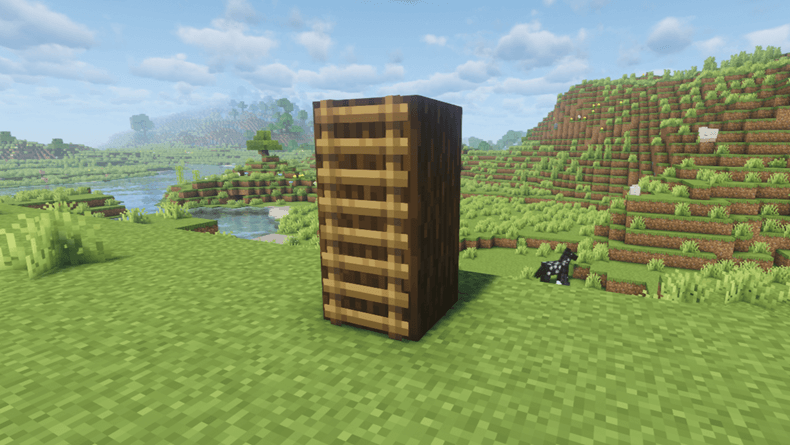
The default armor stand is a simple post with no arms. Over time, the armor stand texture has changed, and new armor stand variations have been added.
Armor stands can hold items in their hands, armor on their body, and even preserve custom names given via an anvil. We have also seen added armor stands features over the versions of the game. By using certain commands, you can reveal full wooden arms or the wooden arms without the post. A separate command can even enable a dual wielding armor stand feature, allowing the stand to hold an item in both the main hand and the offhand.
Armor Stand Poses and Rotations
Armor stand poses are a popular way to customize your display.
In Java Edition, sneaking and right clicking the armor stand will cycle through several poses, like the honor pose. Using the /data command lets you set specific rotation values for the head specific rotations, left arm specific rotations, right arm specific rotations, left leg specific rotations, right leg specific rotations, and body specific rotations.
For example, the command:
/data merge entity @e[type=armor_stand,sort=nearest,limit=1] {ShowArms:1, Pose:{RightArm:[340f,0f,0f]}}
It will give the nearest armor stand arms and make its right arm point up and slightly back. This allows the armor stand to be tilted slightly in a desired direction.
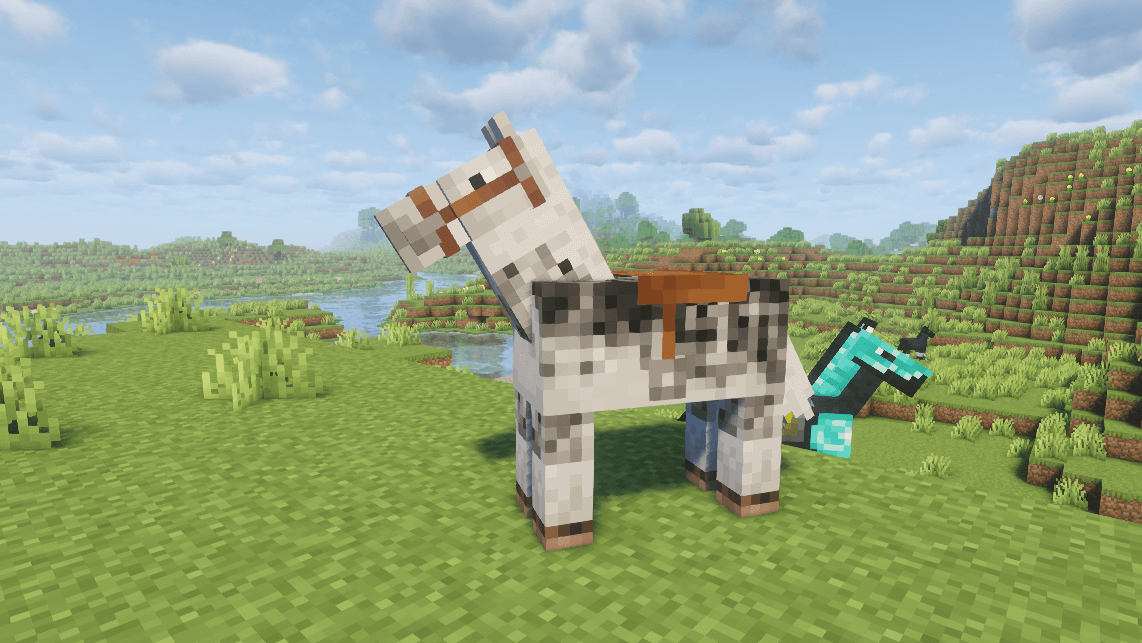
Equipping and Displaying Items
Equipping armor stands is easy. Simply hold the item in your hand and right-click the armor stand.
You can put any helmet item, chestplate, leggings, or boots item on the stand. You can quickly equip the item in your highlighted hotbar slot. If you have leather armor, make sure it is dyed properly before you place it. It can hold enchanted armor or a freshly crafted new armor set, and even non-armor items like mob heads, pumpkins, or stained glass. To display wearable items in the armor stand's hands, right-click the hands while holding the item.
Interaction and Gameplay Mechanics
The armor stand has specific characteristics when it comes to interaction and gameplay mechanics.
When you attack armor stands, they do not take damage but instead produce a slight wooden noise and visual indication of impact. You can interact with it using your bare hand or any item. If the armor stand destroyed drops its items, this can be triggered by a mob attack, resulting in a destroyed mob event, although most mobs cannot damage it.
In very old or highly customized versions, an armor stand could enter a badly damaged state before breaking. The stand drops the armor stand item plus any items it was holding. Armor stand falls and obeys gravity like a solid block until it lands. Technical players can use the command:
/execute
To detect the nearest armor stand to a player. You can enable arms shown via a simple command in Bedrock Edition or more complex commands in Java.
/data
Advanced Mechanics
Technical players utilize the advanced mechanics of the armor stand to push the limits of creativity.
The namespace id redstone power tag allows the use of Redstone signals to detect or manipulate the stand. The armor stand can be used with pistons and other blocks in contraptions that visually creates blocks or makes stand places appear and disappear. Slime block rendering entities and transparent rendering are techniques used in map-making to make the stand appear invisible or to blend into a moving contraption.
The equipment tag is a key component for command-block operators to define exactly what the stand holds armor enchanted or otherwise. The smithing table gui can often be seen in decorative builds adjacent to an armor stand, showcasing where the player upgrades their gear.
Special Uses and Contexts
The armor stand is a go-to item for many specialized building contexts.
In Creative Mode, you can access them directly from the inventory. On mobile devices, the interaction to change poses is often a longer press or a sneak-interact action. They are great for taiga outdoor armory setups, blending into the forest. One funny fact is that when an armor stand is destroyed, it plays a player death sound. You can also use them to visually track the growth of a baby zombie over time.
Conclusion
The armor stand is an invaluable tool for any Minecraft enthusiast. With six sticks and one smooth stone slab in a specific exact pattern on the crafting table, you can make an armor stand to display your most impressive gear. Whether you are using it for simple armor displays in your base, elaborate decorative builds, or complex Redstone contraptions, the armor stand adds a professional touch to your world. Now go ahead and enjoy all of the creative uses this wonderful item offers.
FAQs
How do I get the armor stand to have arms?
To get the full wooden arms on the armor stand, you typically need to use specific commands, such as /data merge entity @e[type=armor_stand,sort=nearest,limit=1] {ShowArms:1} (Java Edition), as the default crafting recipe only yields the armless version.
Can an armor stand hold shields?
Yes, an armor stand can hold a shield in its off hand, provided it is an armor stand with arms enabled via command.
Can I move an armor stand once it is placed?
No, once an armor stand is placed, it cannot be pushed or pulled by pistons, but it can be destroyed and picked up as an item.
Does armor stand burn in lava?
Yes, the armor stand is made of wood and will burn if it falls into lava or catches fire.